
ntpdでサーバの時間を合わせよう!
ここでは、ntpdのインストール手順を掲載しています。
※Scientific Linux 6のサポートは2017年3月をもって終了していますが、旧コンテンツとしてこちらのページは残しておきます。
[広告]
NTPとは…?
Network Time Protocolといって、ネットワーク上で時計合わせを行うためのプロトコルです。
サーバの時計があまりにもずれていると、場合によって不具合が発生します。ntpdを用いて定期的に時計合わせをするように設定します。
ntpdのインストール
[root@sl6 ~]# yum -y install ntp
Installed:
  ntp.x86_64 0:4.2.2p1-18.el5.Scientific Linux

Complete!
[root@sl6 ~]# vi /etc/ntp.conf
server 0.Scientific Linux.pool.ntp.org
server 1.Scientific Linux.pool.ntp.org
server 2.Scientific Linux.pool.ntp.org
server 3.Scientific Linux.pool.ntp.org
↓
server -4 ntp.nict.jp iburst
server -4 ntp.nict.jp iburst
server -4 ntp.nict.jp iburst
ntpdの起動
ntpdは、NTPサーバとの時間差が大きすぎるときちんと動作してくれません。そこで、一度時刻合わせをしてから起動することにします。
[root@sl6 ~]# ntpdate ntp.nict.jp
19 Jan 13:30:46 ntpdate[11096]: step time server 133.243.238.243 offset 32399.618326 sec
[root@sl6 ~]# /etc/init.d/ntpd start
ntpd を起動中: [ OK ]
自動起動の設定もしておきます。
[root@sl6 ~]# chkconfig ntpd on
[root@sl6 ~]# chkconfig --list ntpd
ntpd 0:off 1:off 2:on 3:on 4:on 5:on 6:off
少し時間をおくと、ntpdがntpサーバの時刻と同期を行います。
同期が行われているかどうかを確認してみましょう。
[root@sl6 ~]# ntpq -p
     remote           refid      st t when poll reach   delay   offset  jitter
==============================================================================
*ntp-a2.nict.go. .NICT.           1 u   51   64   17    8.021    4.142   1.660
+ntp-b3.nict.go. .NICT.           1 u   52   64   17   10.716    4.199   1.540
+ntp-a3.nict.go. .NICT.           1 u   52   64   17    8.024    4.394   1.534
 LOCAL(0)        .LOCL.          10 l   52   64   17    0.000    0.000   0.001
同期の確認では、ホスト名の横に"*"とか"+"があればOKです。
LAN内からの接続
ntpdは定期的にサーバ自身の時間を合わせるだけでなく、NTPサーバ機能も持っています。つまり、LAN内に1台ntpdが動いていれば、今度はLAN内のサーバを基準に時計合わせが可能になります。
Windowsの場合、コントロールパネルから設定することができます。
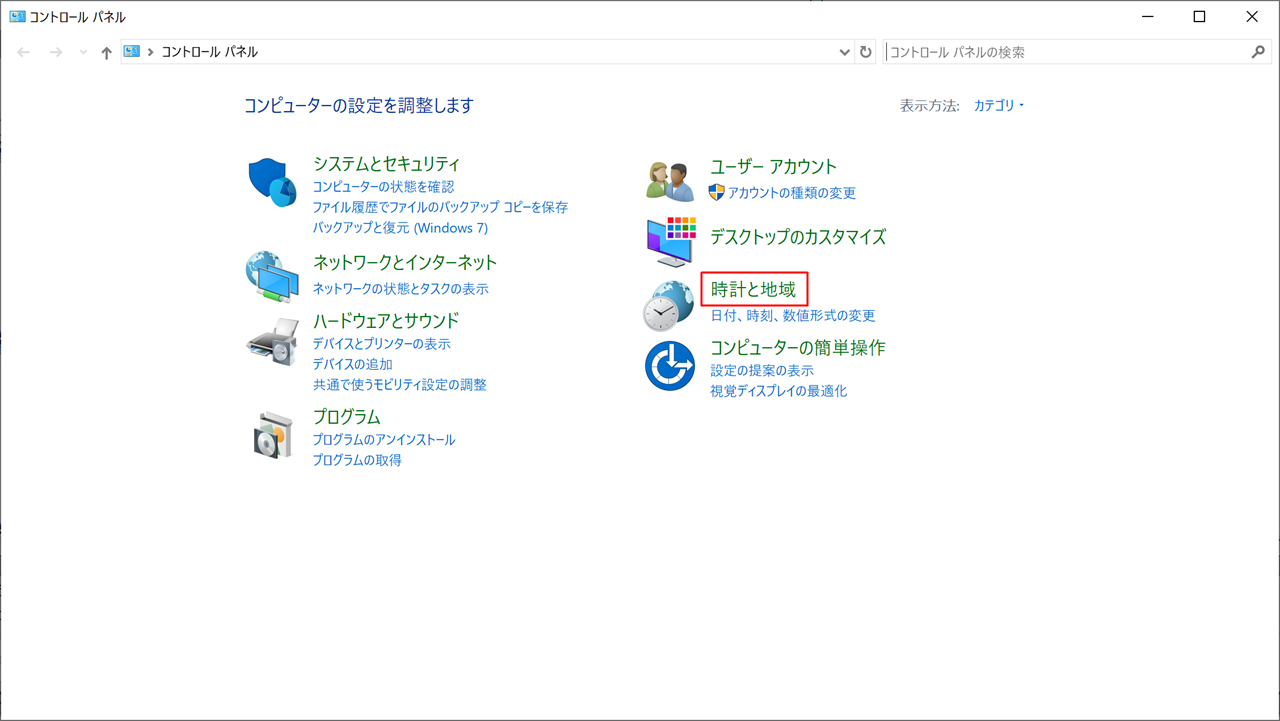 |
コントロールパネルを開き、 |
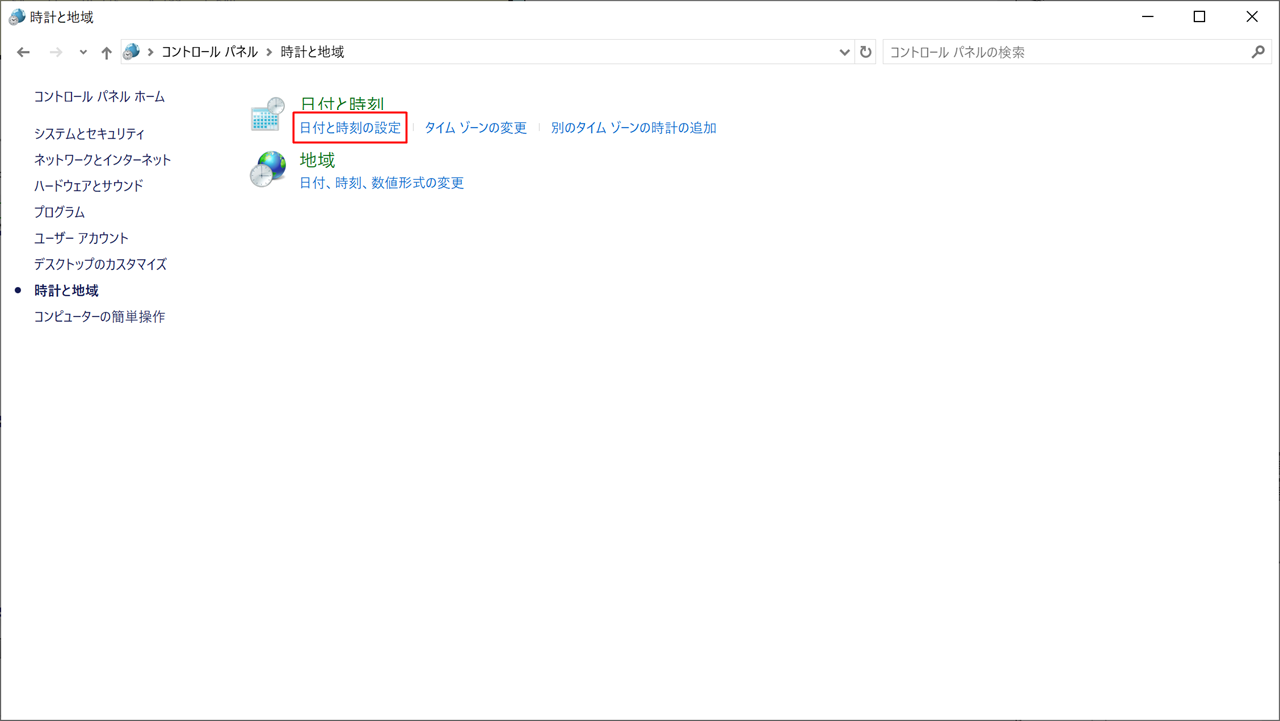 |
「日付と時刻の設定」をクリックします。 |
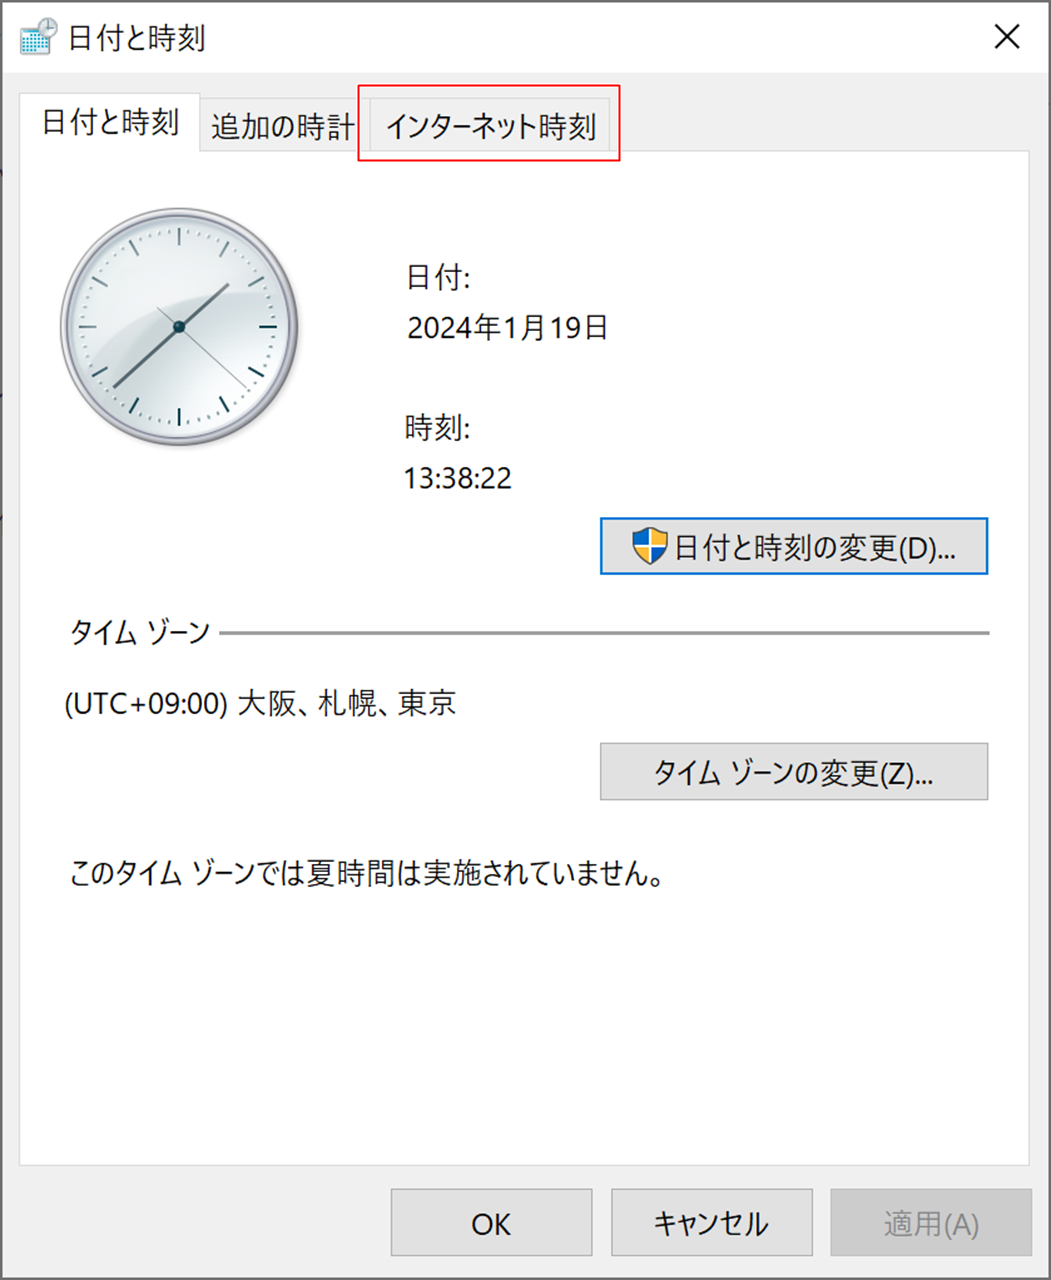 |
「インターネット時刻」をクリックします。 |
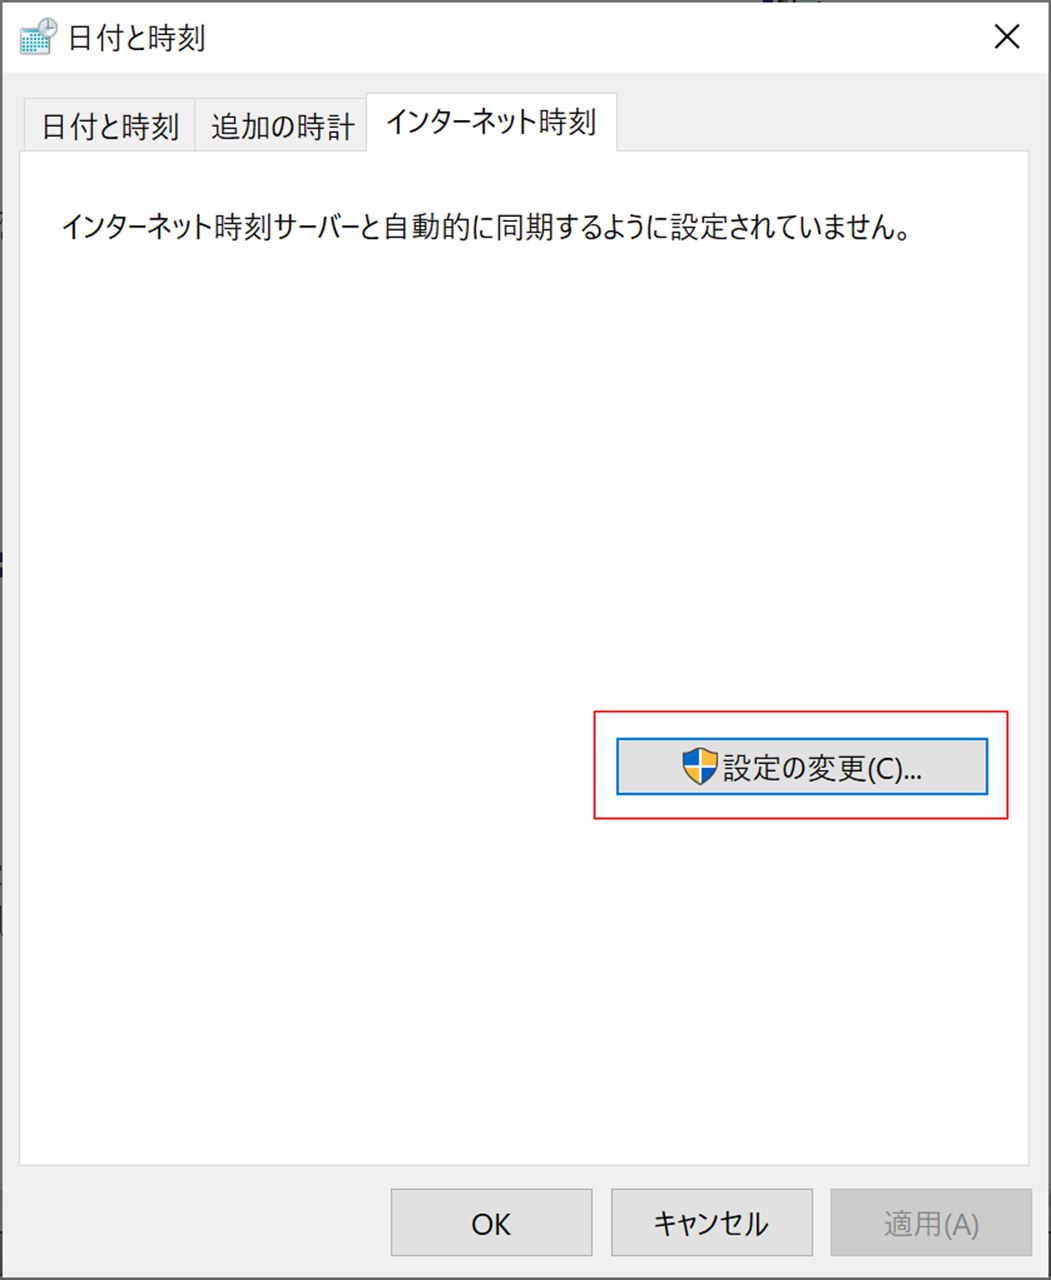 |
「設定の変更」をクリックします。 |
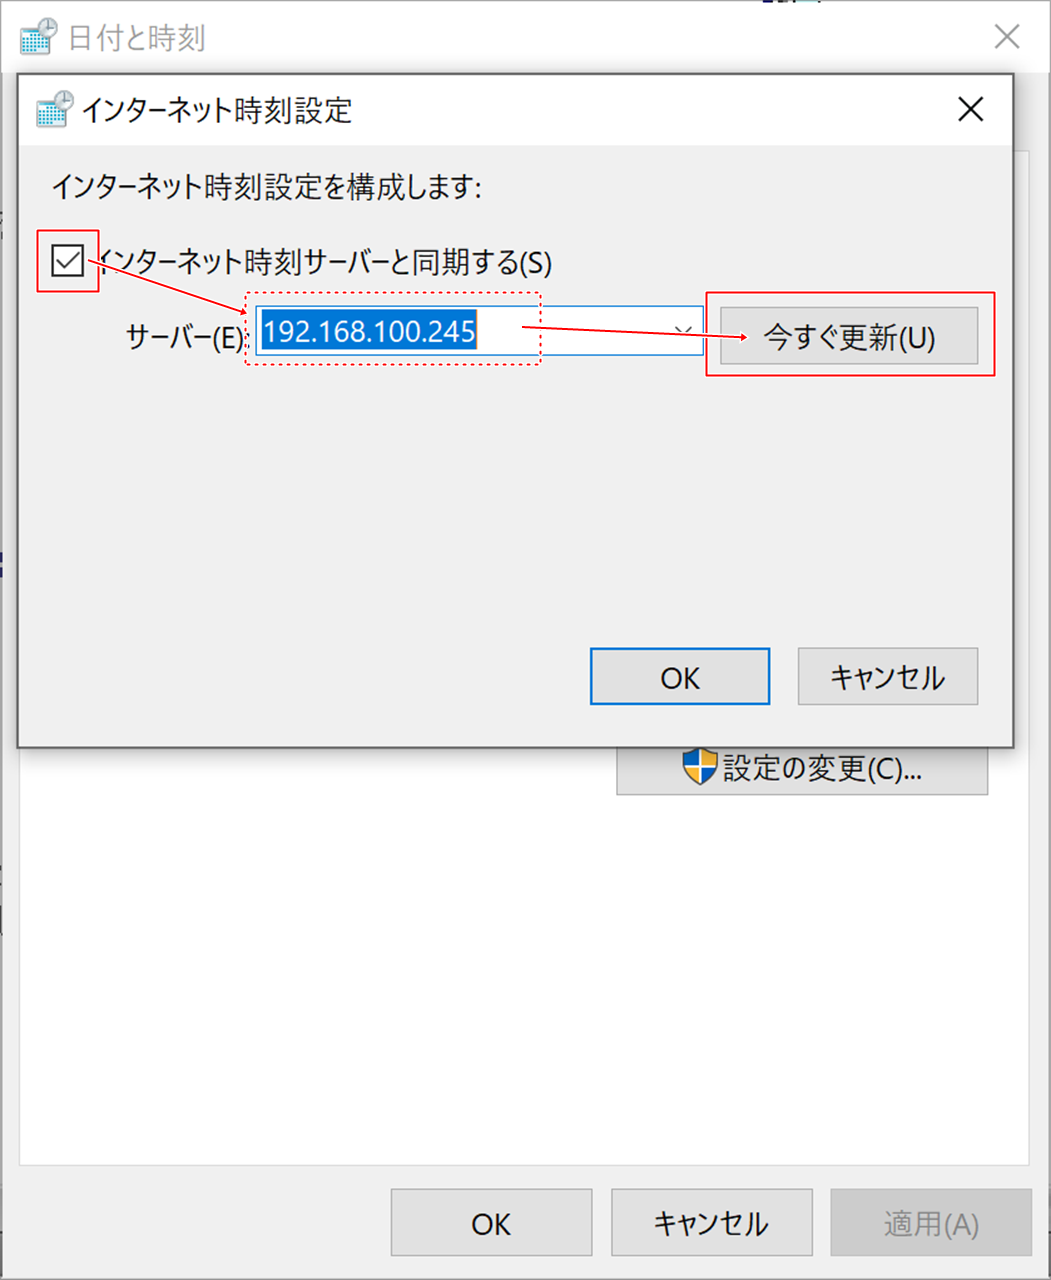 |
NTPサーバのアドレスまたはドメインを入力し、「今すぐ更新」をクリックします。 |
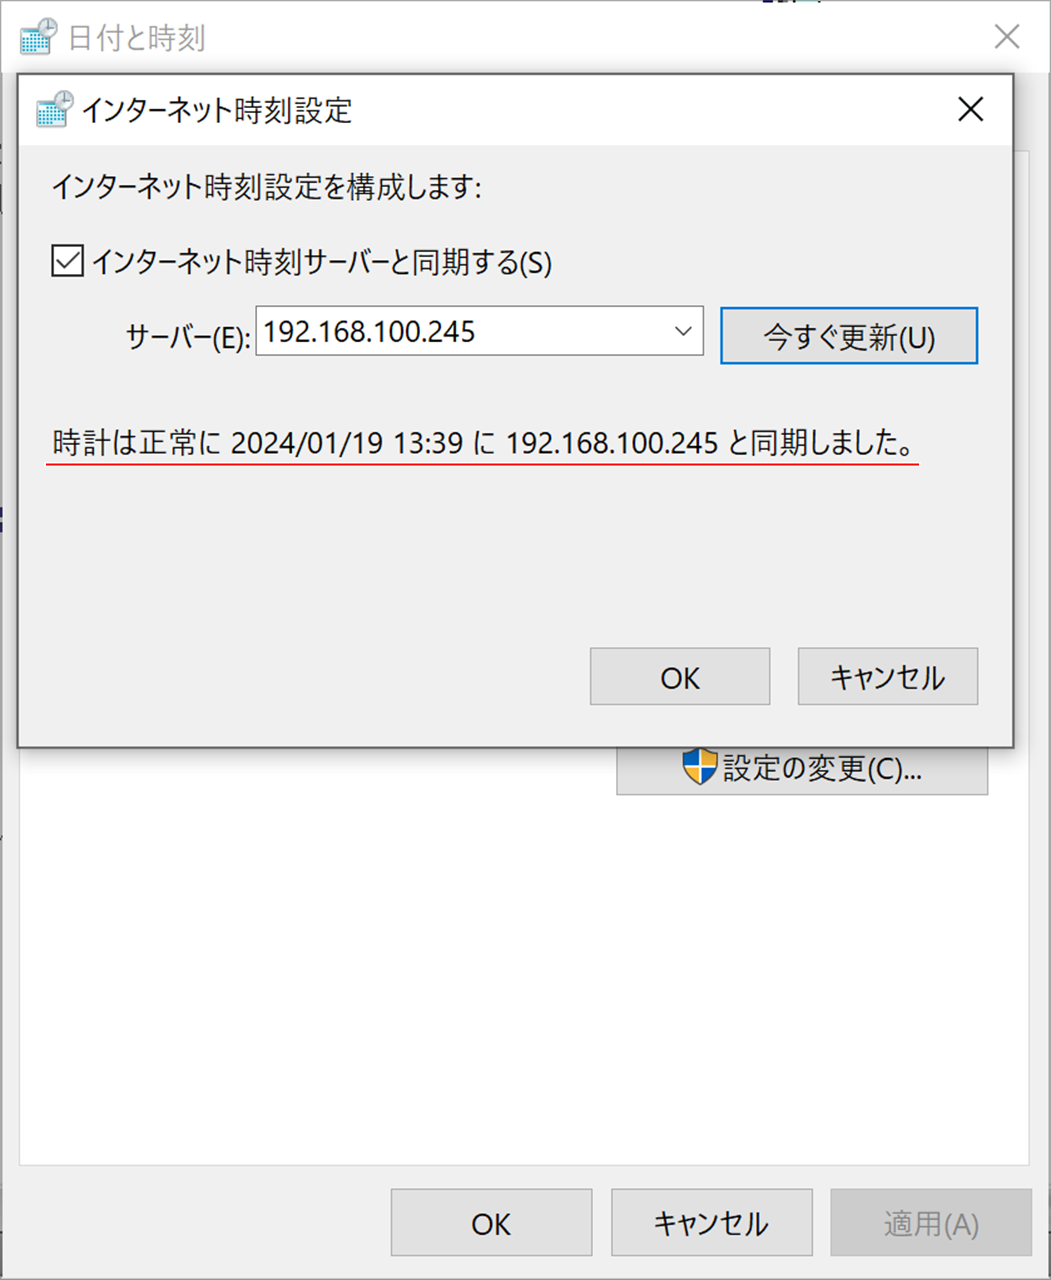 |
"時計は正常に~~と同期しました。"と表示されれば設定完了です。 |
ここまでやって、ようやくサーバを立てる環境が大よそ整ったかなと言ったところでしょうか。
次からは実際にサーバを立てていきたいと思います。メニューからお選びください。
[広告]
トップページ
Scientific Linux 6
○準備
○仮想化準備(VMware)
○仮想化準備(Hyper-V)
○仮想化準備(Proxmox)
○基本操作
○導入
○セキュリティ対策
○NTPサーバ
○Dynamic DNS
○DNSサーバ
○データベース
○WEBサーバ
○FTPサーバ
○メールサーバ
○ブログシステム
○その他