
PHPをインストールし、Webプログラムを動かそう!
ここでは、PHP8.4の導入手順を掲載しています。
[広告]
PHPとは…?
"PHP:Hypertext Preprocessor"の略称で、オープンソースにより開発されているスクリプト言語です。
PHPを利用することで、HTMLを動的に生成したり、サーバ側で動作するWebアプリケーションを開発することが可能です。
非常に動作が軽快で、データベースとの連携が比較的容易に行えるのが特徴と言えるでしょう。
スクリプトの構文はC言語に似ています。
2025年06月22日現在、最新版は8.4.8です。…ですが、標準ではまだ出てこないみたいです。
[root@rl10 ~]# dnf module list php
メタデータの期限切れの最終確認: 0:41:25 前の 2025年06月22日 19時14分26秒 に実施 しました。
エラー: 表示する一致モジュールはありません
そんなわけで、remiリポジトリを使ってインストールしてみます。
remiリポジトリの追加
[root@rl10 ~]# rpm -Uvh https://rpms.remirepo.net/enterprise/remi-release-10.rpm
https://rpms.remirepo.net/enterprise/remi-release-10.rpm を取得中です
警告: /var/tmp/rpm-tmp.0wSxeI: ヘッダー V4 RSA/SHA256 Signature、鍵 ID 2a0948e4: NOKEY
検証しています...              ################################# [100%]
準備しています...              ################################# [100%]
更新中 / インストール中...
   1:remi-release-10.0-3.el10.remi    ################################# [100%]
[root@rl10 ~]# dnf --enablerepo=remi module list php
メタデータの期限切れの最終確認: 0:00:52 前の 2025年06月22日 20時09分40秒 に実施 しました。
Remi's Modular repository for Enterprise Linux 10 - x86_64
Name     Stream       Profiles                       Summary
php      remi-7.4     common [d], devel, minimal     PHP scripting language
php      remi-8.0     common [d], devel, minimal     PHP scripting language
php      remi-8.1     common [d], devel, minimal     PHP scripting language
php      remi-8.2     common [d], devel, minimal     PHP scripting language
php      remi-8.3     common [d], devel, minimal     PHP scripting language
php      remi-8.4     common [d], devel, minimal     PHP scripting language

ヒント: [d]efault, [e]nabled, [x]disabled, [i]nstalled
せっかくですし、一番最新のバージョンをインストールしておきましょうか。
[root@rl10 ~]# dnf -y module install php:remi-8.4
インストール済み:
  nginx-filesystem-2:1.26.3-1.el10.noarch
  oniguruma5php-6.9.10-1.el10.remi.x86_64
  php-cli-8.4.8-1.el10.remi.x86_64
  php-common-8.4.8-1.el10.remi.x86_64
  php-fpm-8.4.8-1.el10.remi.x86_64
  php-mbstring-8.4.8-1.el10.remi.x86_64
  php-xml-8.4.8-1.el10.remi.x86_64

完了しました!
今後のために、データベース(MariaSQL)と連携するためのモジュールもインストールしておきます。
[root@rl10 ~]# dnf -y install php-mysqlnd
インストール済み:
  php-mysqlnd-8.4.8-1.el10.remi.x86_64     php-pdo-8.4.8-1.el10.remi.x86_64

完了しました!
PHPの設定
続いて、設定を行います。
[root@rl10 ~]# vi /etc/php.ini
expose_php = On
↓
expose_php = Off
;error_log = php_errors.log
↓
error_log = /var/log/httpd/php-error.log
[Data]
;date.timezone =
↓
date.timezone = Asia/Tokyo
[mbstring]
;mbstring.language = Japanese
;mbstring.internal_encoding =
;mbstring.http_input =
;mbstring.http_output =
;mbstring.encoding_translation = Off
;mbstring.detect_order = auto
;mbstring.substitute_character = none
↓
mbstring.language = Japanese
mbstring.internal_encoding = UTF-8
mbstring.http_input = auto
mbstring.http_output = pass
mbstring.encoding_translation = On
mbstring.detect_order = auto
mbstring.substitute_character = none
[root@rl10 ~]# vi /etc/php-fpm.d/www.conf
;listen.owner = nobody
;listen.group = nobody
;listen.mode = 0660
↓
listen.owner = apache
listen.group = apache
listen.mode = 0666
Apacheの起動
ここまで設定が終わったら、PHPとApacheを起動します。
[root@rl10 ~]# systemctl enable --now php-fpm
Created symlink '/etc/systemd/system/multi-user.target.wants/php-fpm.service' → '/usr/lib/systemd/system/php-fpm.service'.
[root@rl10 ~]# systemctl enable --now httpd
Created symlink '/etc/systemd/system/multi-user.target.wants/httpd.service' → '/usr/lib/systemd/system/httpd.service'.
[root@rl10 ~]# systemctl status httpd
● httpd.service - The Apache HTTP Server
     Loaded: loaded (/usr/lib/systemd/system/httpd.service; enabled; preset: disabled)
    Drop-In: /etc/systemd/system/httpd.service.d
             mqphp-fpm.conf
     Active: active (running) since Sun 2025-06-22 20:18:54 JST; 29s ago
 Invocation: b6f845b36c87405883e519a1793f546b
       Docs: man:httpd.service(8)
   Main PID: 2951 (httpd)
     Status: "Total requests: 0; Idle/Busy workers 100/0;Requests/sec: 0; Bytes served/sec:   0 B/sec"
      Tasks: 177 (limit: 100174)
     Memory: 14.6M (peak: 15.1M)
        CPU: 72ms
     CGroup: /system.slice/httpd.service
             tq2951 /usr/sbin/httpd -DFOREGROUND
             tq2952 /usr/sbin/httpd -DFOREGROUND
             tq2953 /usr/sbin/httpd -DFOREGROUND
             tq2954 /usr/sbin/httpd -DFOREGROUND
             mq2961 /usr/sbin/httpd -DFOREGROUND
動作の確認
きちんとApacheが動いているかを確認しましょう。
まず、はじめから入っている不要なファイルを削除します。
[root@rl10 ~]# rm -f /etc/httpd/conf.d/welcome.conf
[root@rl10 ~]# rm -f /var/www/error/noindex.html
HTMLのテストファイルを作成します。
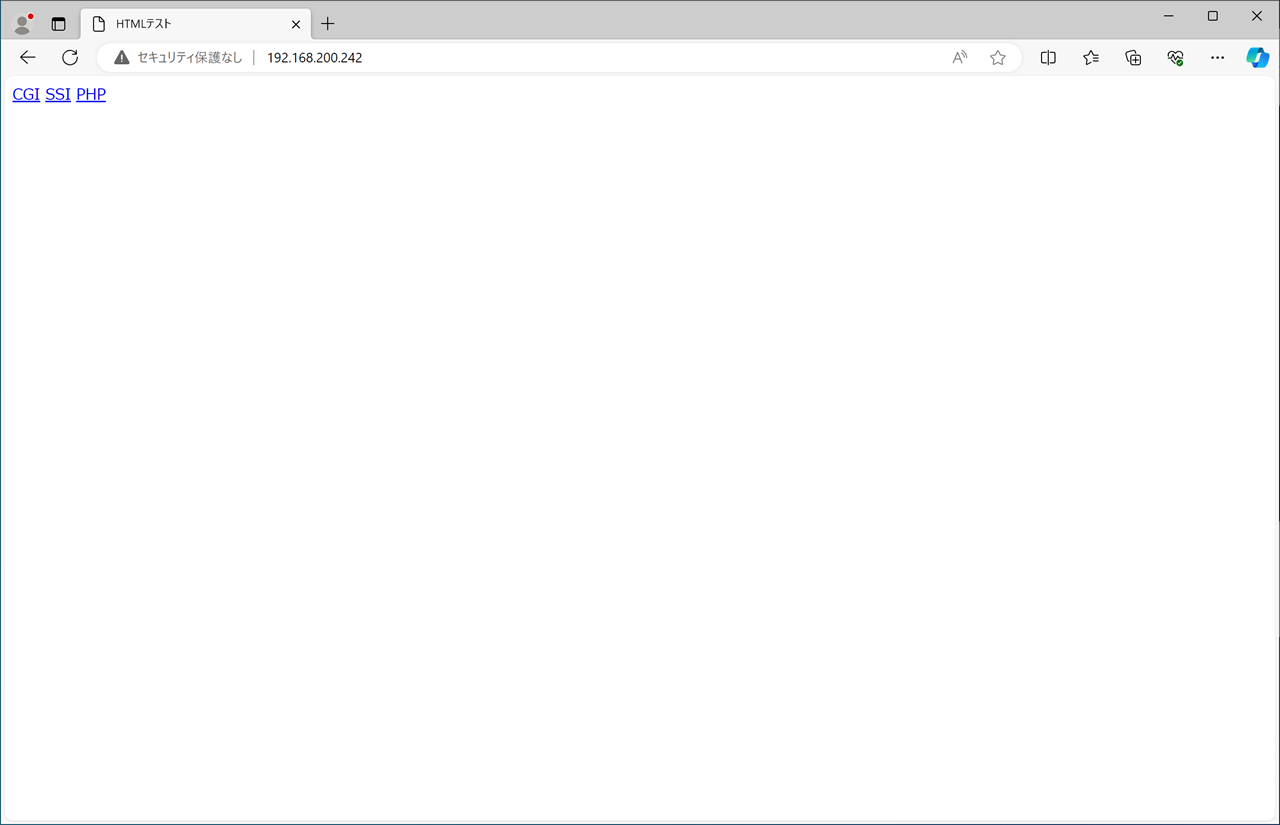
[root@rl10 ~]# vi /var/www/html/index.html
<html>
<head>
<meta http-equiv="Content-Type" content="text/html; charset=UTF-8">
<title>HTMLテスト</title>
</head>
<body>
<a href="test.cgi">CGI</a>
<a href="test.shtml">SSI</a>
<a href="test.php">PHP</a>
</body>
</html>
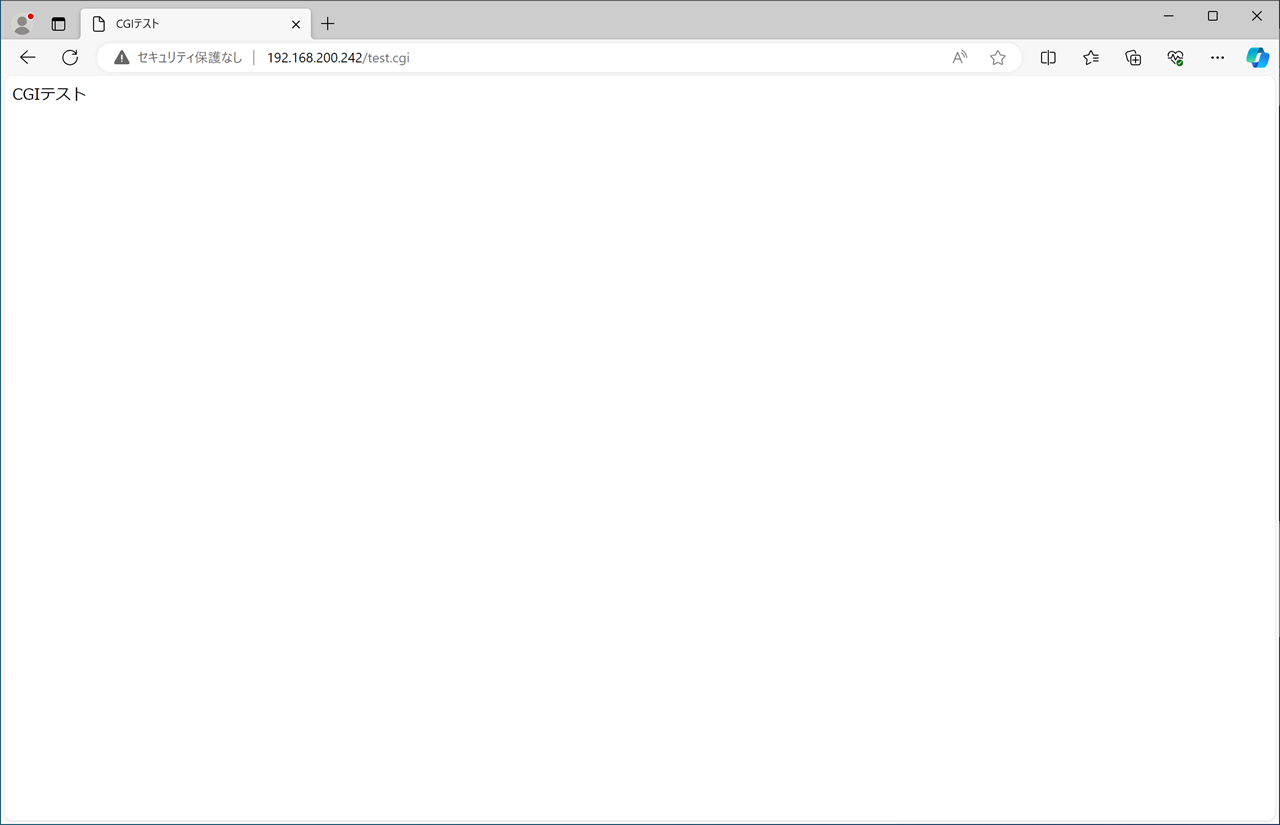
CGIのテストファイルを作成します。
[root@rl10 ~]# vi /var/www/html/test.cgi
#!/usr/bin/perl

print "Content-type: text/html\n\n";
print "<html>\n";
print "<head>\n";
print "<meta http-equiv=\"Content-Type\" content=\"text/html; charset=UTF-8\">\n";
print "<title>CGIテスト</title>\n";
print "</head>\n";
print "<body>\n";
print "CGIテスト\n";
print "</body>\n";
print "</html>\n";
[root@rl10 ~]# chmod +x /var/www/html/test.cgi
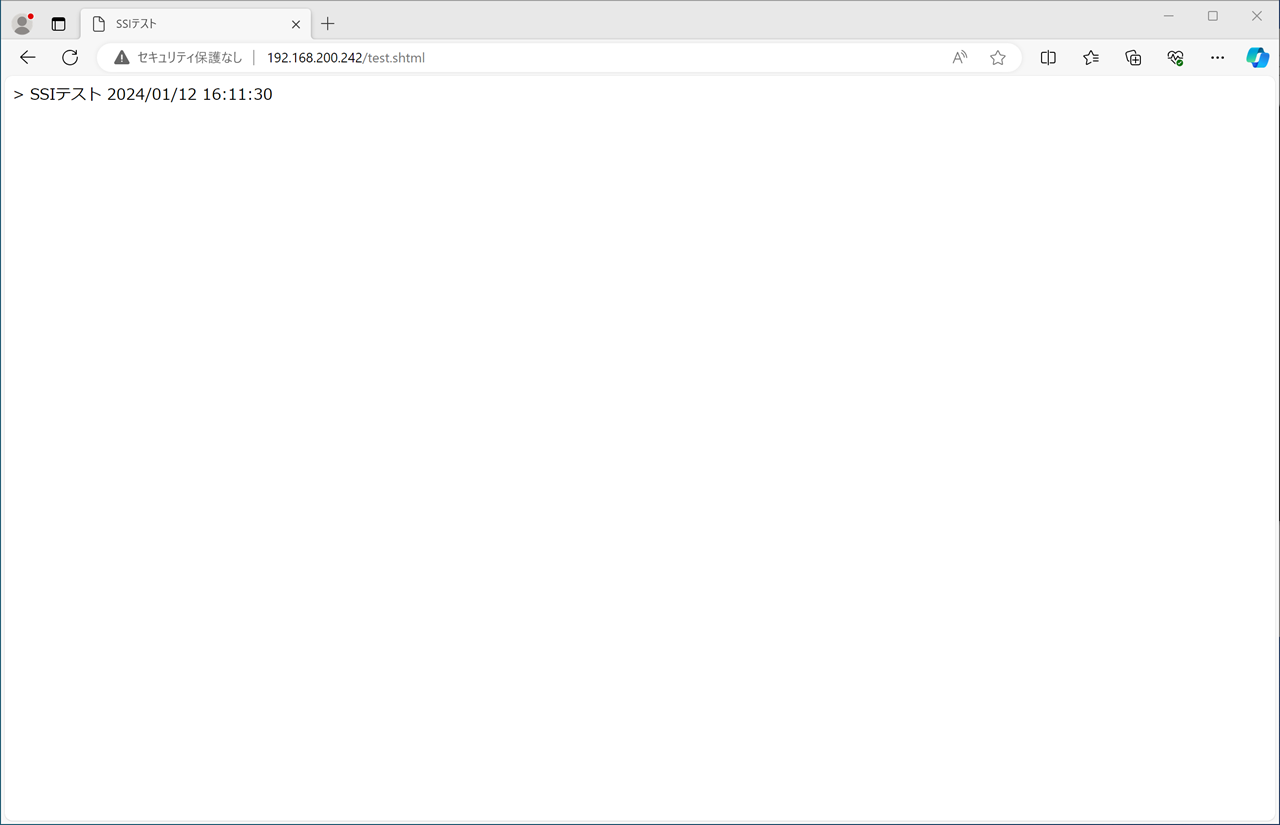
SSIのテストファイルを作成します。
[root@rl10 ~]# vi /var/www/html/test.shtml
<html>
<head>
<meta http-equiv="Content-Type" content="text/html; charset=UTF-8">>
<title>SSIテスト</title>
<body>
SSIテスト
<!--#config timefmt="%Y/%m/%d %H:%M:%S" -->
<!--#echo var="DATE_LOCAL" -->
</body>
</html>
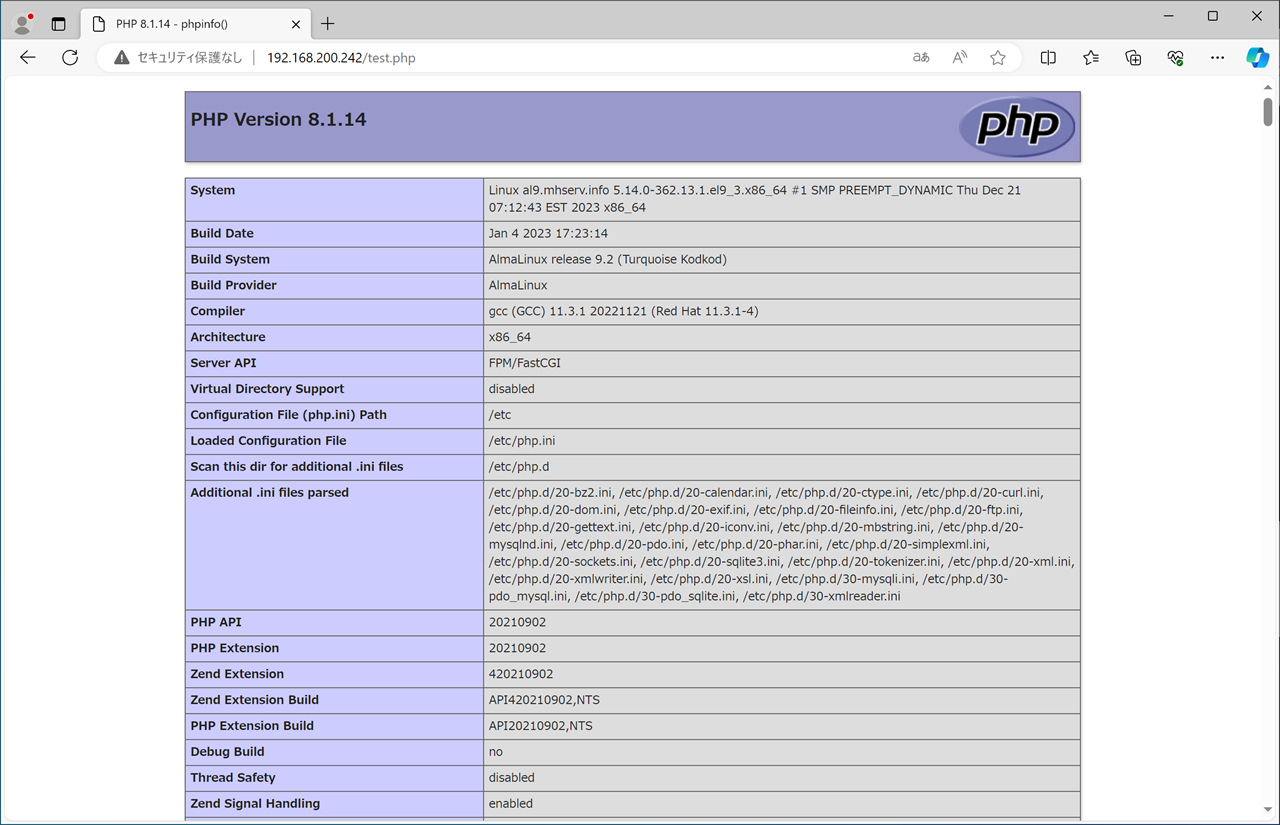
PHPのテストファイルを作成します。
[root@rl10 ~]# vi /var/www/html/test.php
<?php
phpinfo();
?>
ここまでできたら、ブラウザのアドレスバーにサーバのIPアドレスを入れて接続してみましょう。
全てのページがきちんと表示されればOKです。されない場合はどこか設定が間違っているので、見直しましょう。
 |
 |
 |
 |
動作が確認できたら、テストページは削除しておきましょう。
[root@rl10 ~]# rm -f /var/www/html/index.html /var/www/html/test.cgi /var/www/html/test.shtml /var/www/html/test.php
これで、Webサーバの構築はおしまいです。
今回新しく登場したコマンド
[広告]
トップページ
Rocky Linux 10
○インストール準備
○仮想化準備(VMware)
○仮想化準備(Hyper-V)
○仮想化準備(Proxmox)
○基本操作
○導入
○セキュリティ対策
○Dynamic DNS
○NTPサーバ
○データベース
○WEBサーバ
○FTPサーバ
○メールサーバ
○DNSサーバ
○ブログシステム
○その他